Ferrari 250 GTO build
Completed Ferarri 250 GTO


Rear right quarter panel tutorial
Start by cutting the Ferrari STL file in a program such as slicer and prepare it for laser cutting.


Once the laser cut model is glued and stable, begin by wrapping the entire model in masking tape to gain a better understanding of the Ferraris contours.

Next roughly wrap paper around the desired panel and mark with pen.


Transfer template to fresh annealed sheet metal via permanent marker.

Then cut out section with tinsnips.

It is sometimes necessary to leave excess material to ensure that there is enough metal to wrap around the model.


Once the desired shape is been cut, begin by hitting the material on a sand bag with a nylon mallet this will begin to stretch and curve the piece.


Due to the shape of the work piece as it is hit it will stretch at the top and compress at the bottom, this works in your favour as this motion will pull the wheel arch into the correct position.


At this point taking your time is necessary as over working will harden the material to the point where it may crack or fracture, ensure dry assemblies are done frequently.


Once the wheel arch has been moved into position begin to work the smaller end of the piece with the opposite end of the mallet, this will create a tighter curve.

Always draw guide lines to keep your mallet hits on track, this will increase the chances of a desired result.


At this point the piece will be quite bumpy, continue to use the mallet to work out any bumps. Where applicable incorporate the english wheel to flatten out any large sections.

Upon flattening out most of the bumps, use a mallet and sandbag to create the edge of the Ferraris spoiler.


Ensure all sharpe edges have been filed and sanded down so that a tight fit can be achieved.

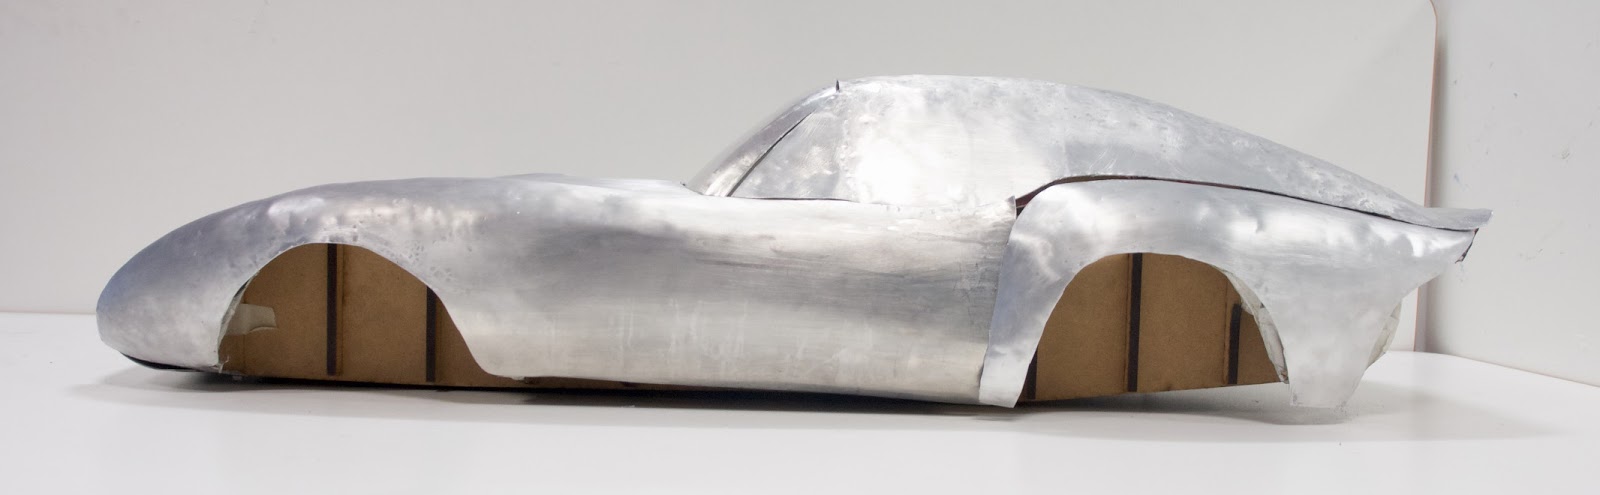
Completed rear right quarter panel.


Windscreen tutorial

Begin by transferring the windscreens contours to paper.

Transfer template to sheet metal and trace.


Use Nylon Mallet and sandbag to curve piece.


Incorporate the english wheel to create a second curve on the opposing axis.


Fitted windscreen


Comments
Post a Comment