Assignment 3 - Reverse curve tutorial & Reflection
Reverse curve tutorial

You will need
- Sheet metal preferably Aluminum
- Flat nylon mallet
- Curved nylon mallet
- Assorted metal dollies
- Assorted timber dollies
- Engineers vice
- Sandpaper and markers
Step 1. Begin by selecting a piece of annealed aluminum and carefully mark lines where you would like the curve to change direction.


Step 2. Next find a suitable dolly with the desired curve. Because the annealing process the Aluminum is quite malleable, thus it is possible to simply wrap the material around with minimal force.


Step 3. For the next section any mould/dolly that has a dip can be used as long as it can withstand lots of punishment, In this tutorial a round log with a gouge was used.
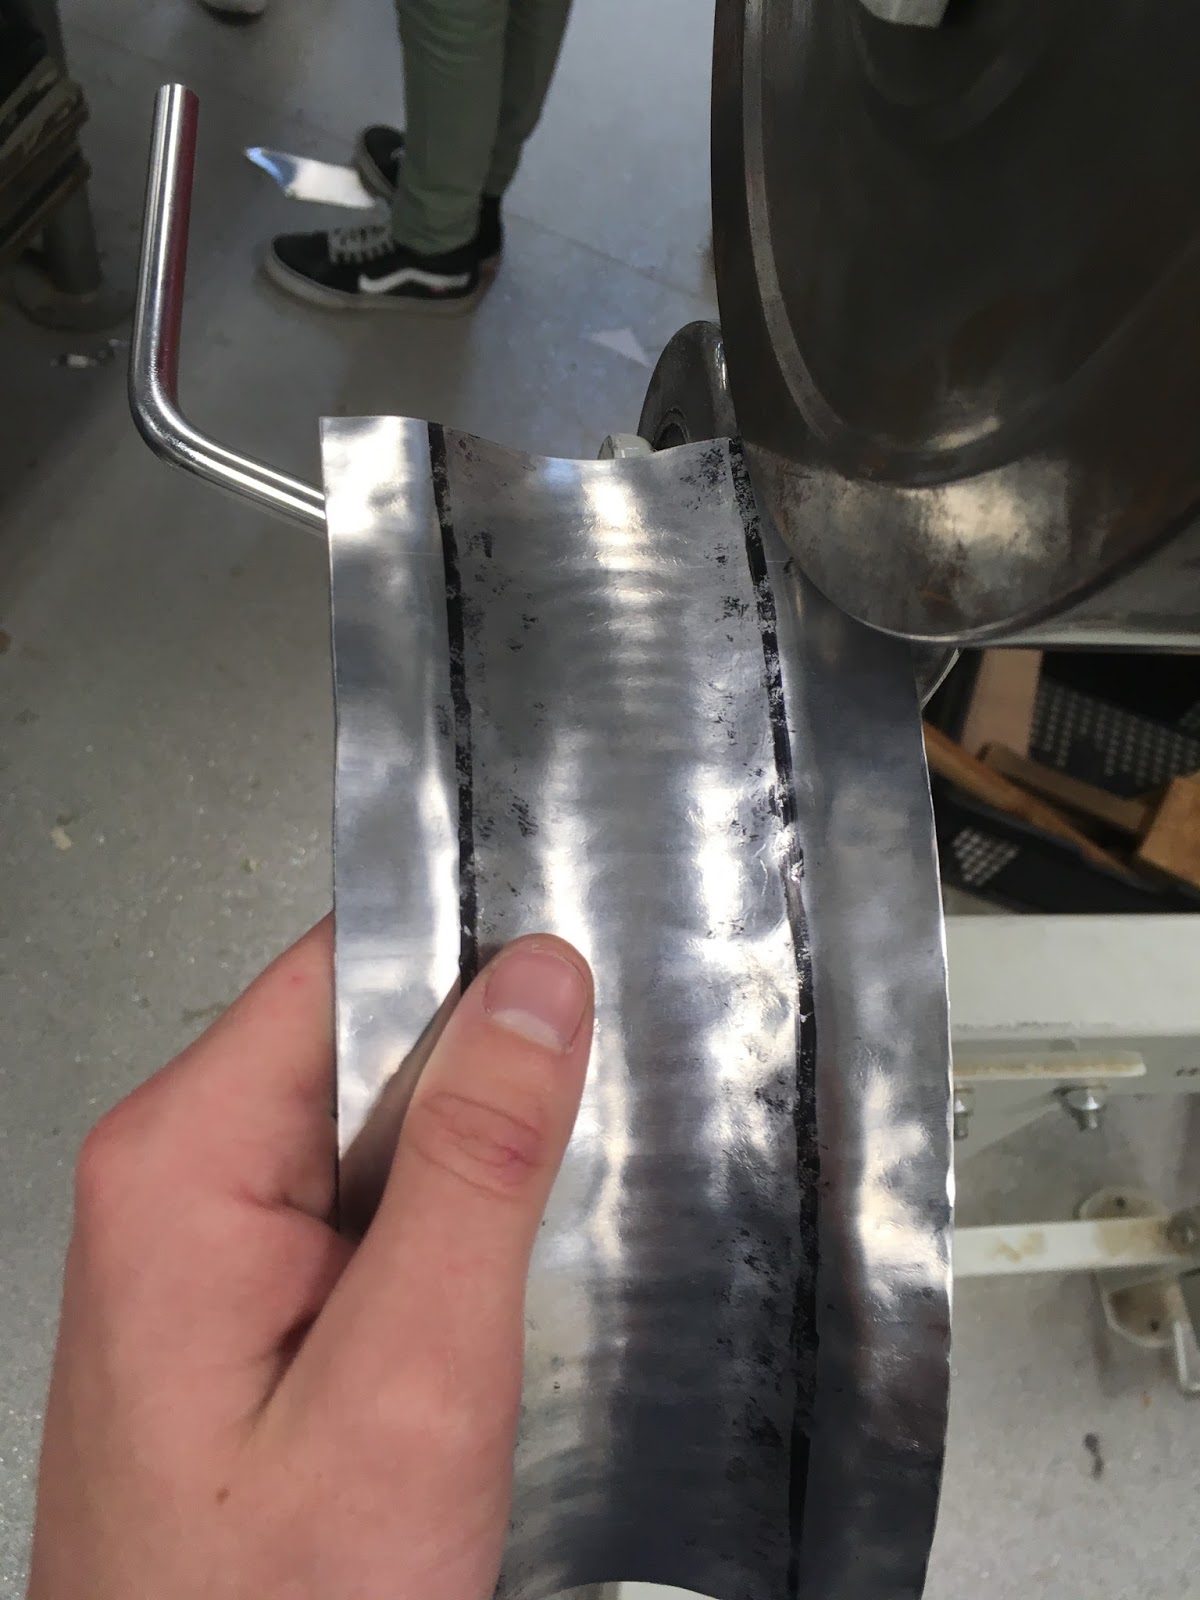
Begin by hammering the piece into the crevice with a rounded nylon mallet, the material will begin to buckle and twist on the edges, but ignore this for now, simply focus on hammering the internal curve.


Step 4. You may notice that the material may start to flatten out during the previous step, this can be countered by angling the material to initialise the wrapping process of the exterior curve, whilst still deepening the internal dip.


Step 5. Once the desired depth has been achieved it is necessary to flatten out any warped or bent sections of the exterior curve. This can be done by simply rolling the piece with a flat wheel on the english wheel, continue to roll until all the bumps are gone.
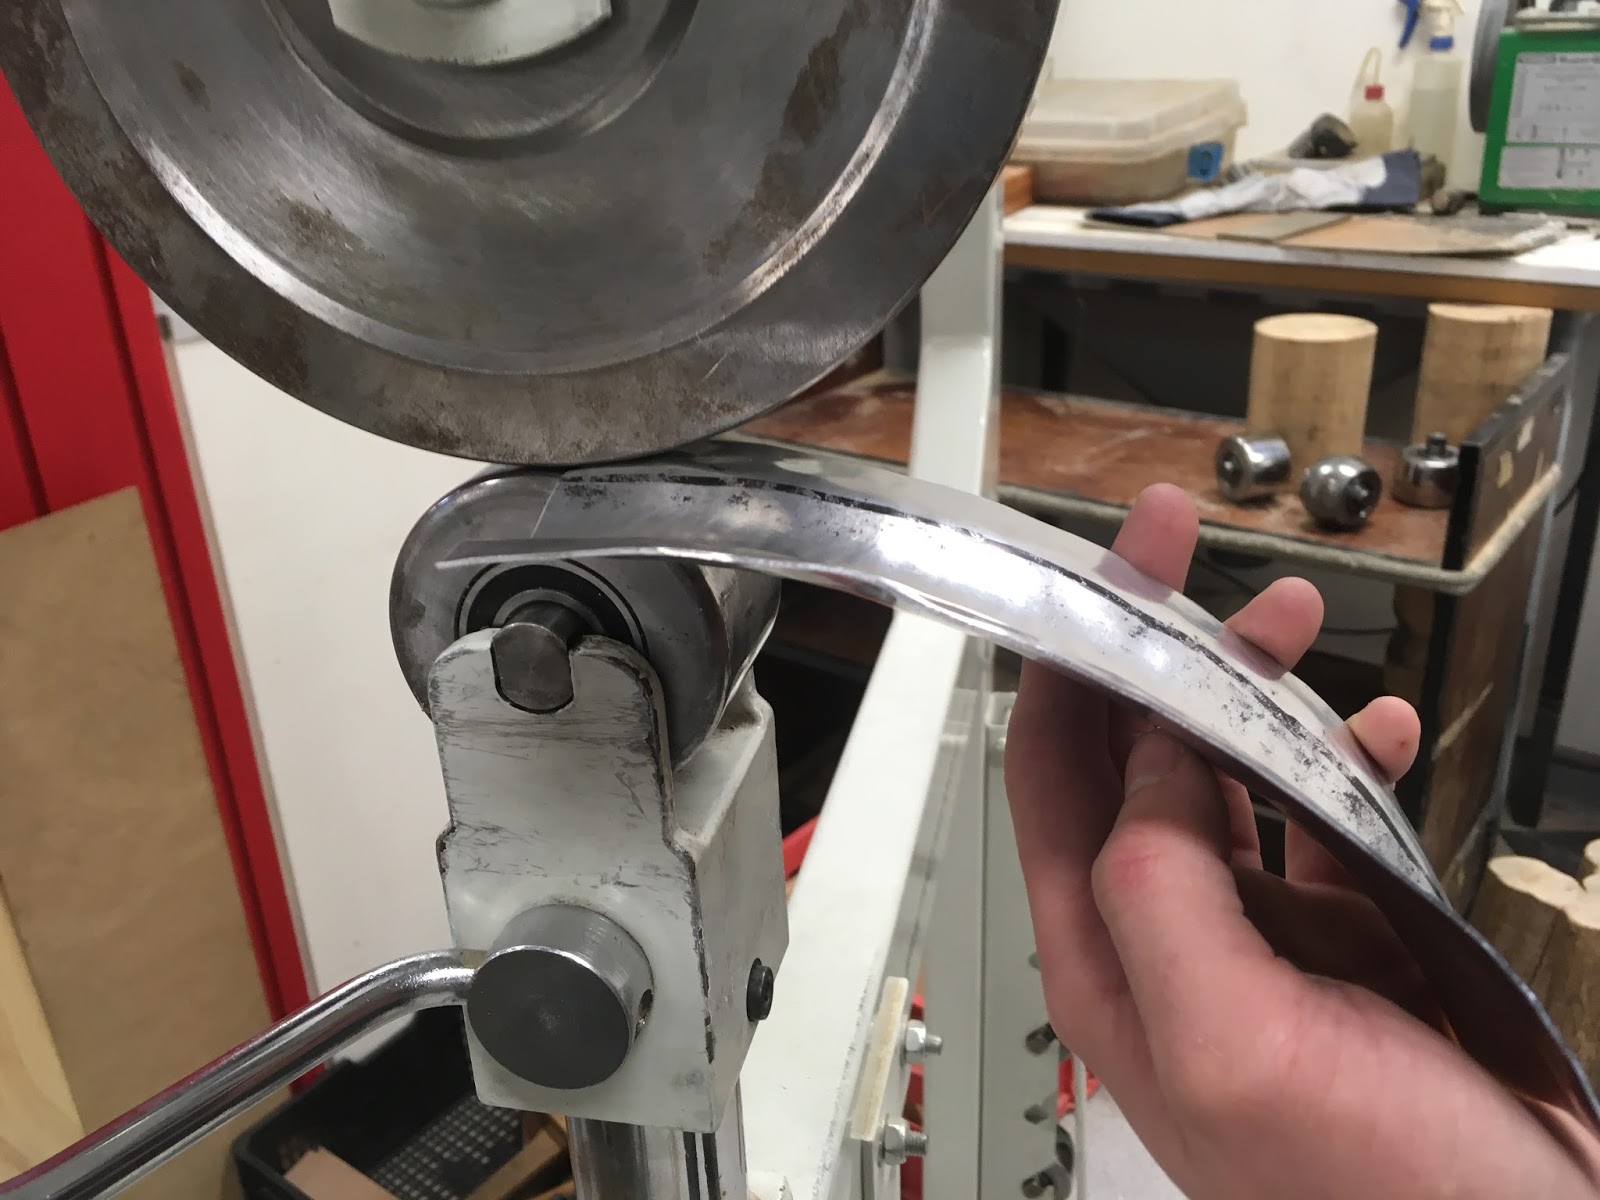


Step 6. Before creating the outer curves firstly grab a flat ended nylon mallet and the correct dolly for your piece, this will ensure minimal dents are inflicted on the exterior faces.


Step 7. Begin by overlaying the outer edge along the dolly, ensure it is in the correct position before hammering. Strike the piece along the curve and work from the centre to the outer edge, this will ensure the metal is wrapped evenly around the dolly.


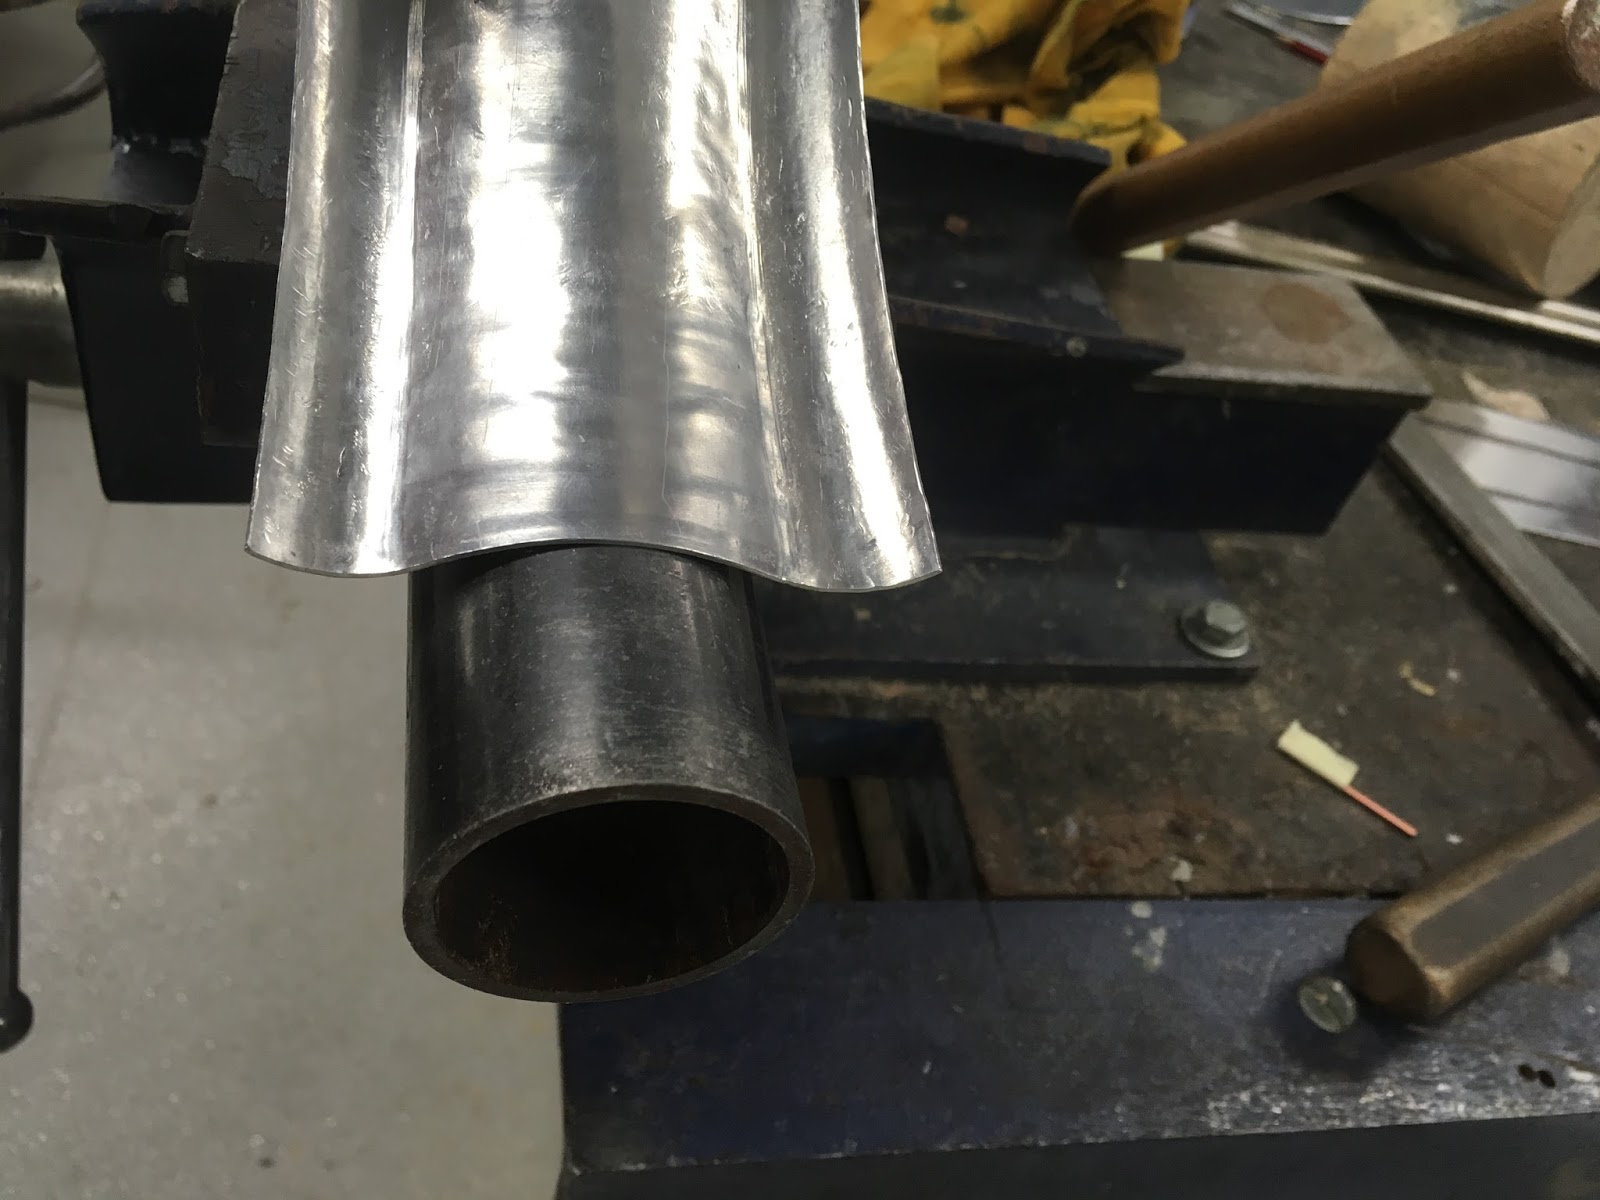
Step 8. After the overall shape has been achieve there may be parts that have deformed during certain processes so it sometimes needed to repeat some steps to ensure all faces are correct.
In the photo below a round bar was used to correct some deformation in the centre dip.

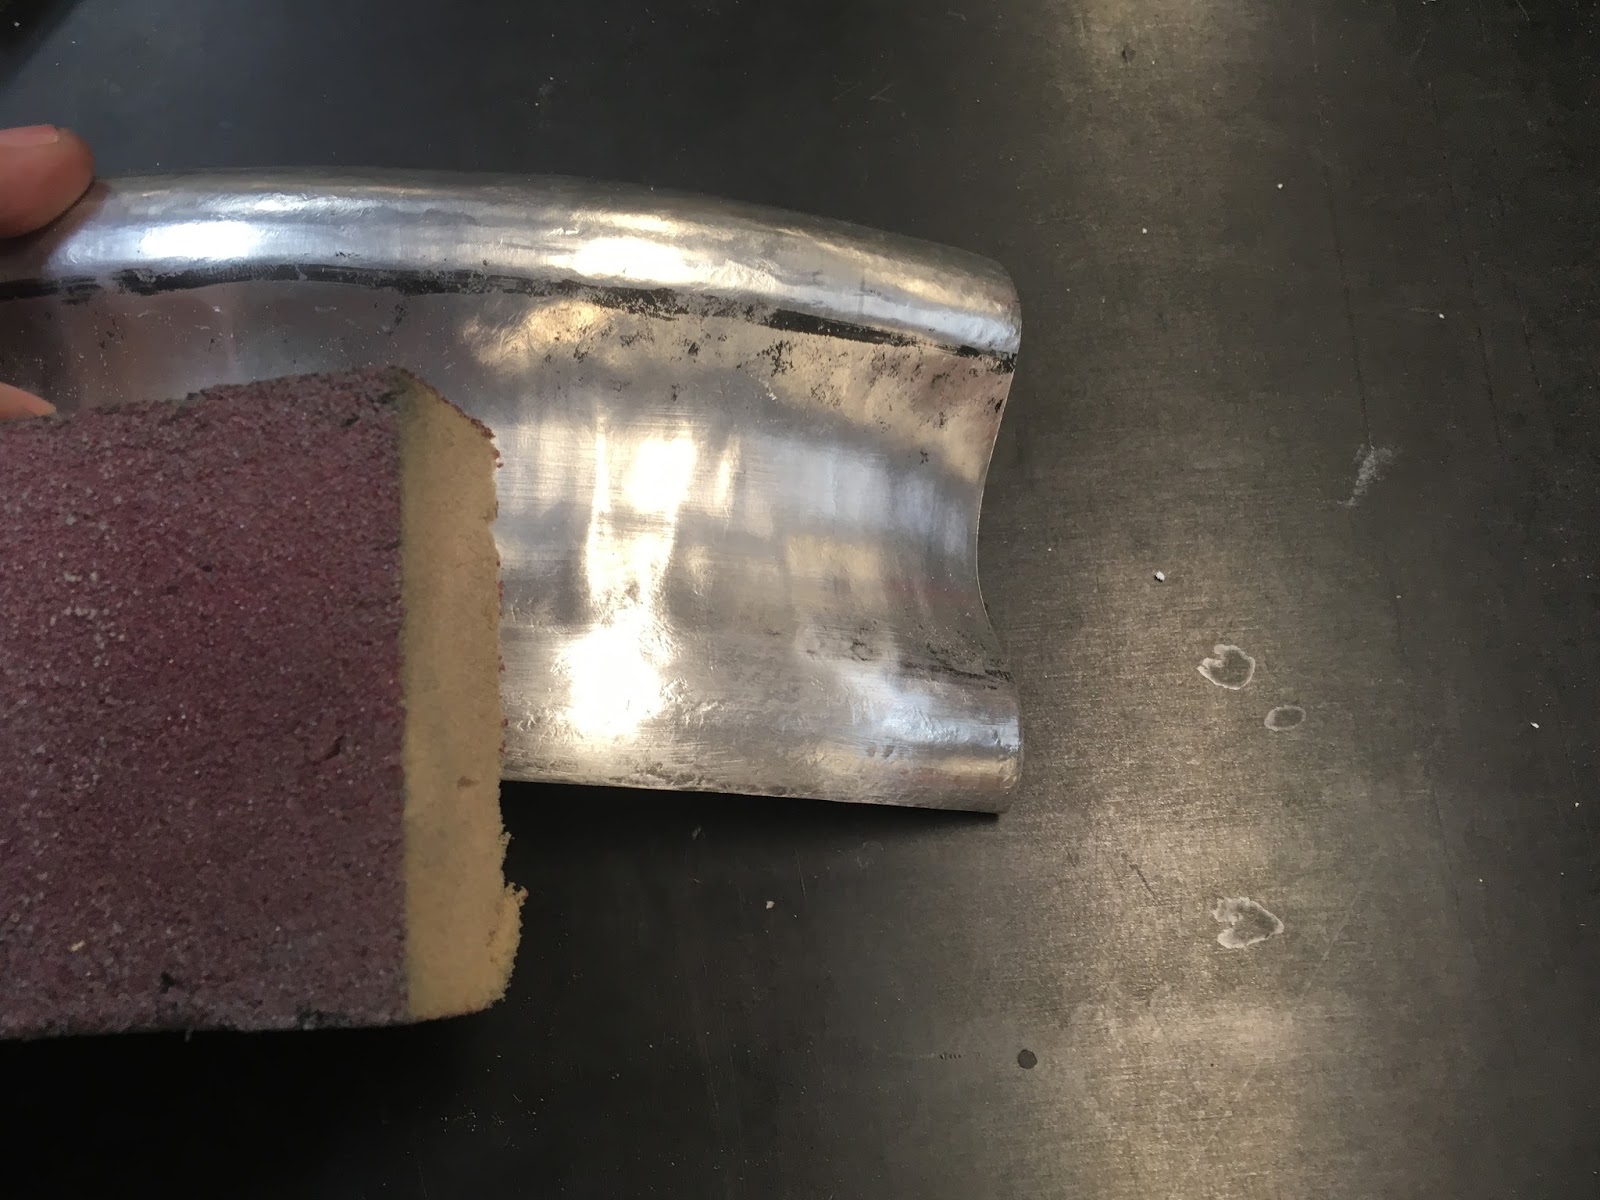
Step 9. Finishing is a key part of the process, wet and dry sand paper is great for unearthing any discrepancies in your piece it is also necessary to iron out any scratches.
Slowly make your way through the range of grits from course to fine for a matte finish.
For a gloss finish buff with a polishing compound such as Brasso.

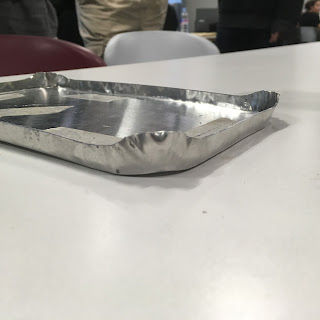
Finished reverse curve


Reflection - Industrial Design - City travel
From Bicycles to the Modern Scooter.

The aerodynamic design of this bicycle was only made possible due to advances in precision sheet metal fabrication.

The Vespa was one of the first mass produced scooters after the second world war, this allowed for easy maneuverability in tight situations.
The wide front section was designed to protect the user from any possible incoming projectiles.
The wide front section was designed to protect the user from any possible incoming projectiles.

The reverse curve can be implemented into many different areas of scooter design such as mud guards and fenders.


Comments
Post a Comment